Trusted by:
How to Create a Webinar Certificate in 3 Easy Steps
Creating a certificate for your webinar doesn't have to be complicated. In fact, with a little planning and some creative thinking, you can easily create a certificate that will be both useful and visually appealing. Here's how to do it in three easy steps.
AuthorSergey Butko
Updated: April 18, 2024
11 min read

Author
Sergey Butko
Updated: April 18, 2024
11 min read
Trusted by:
Would you like to know what would make your webinar even more appealing and attractive than it already is? The answer is easy – webinar certificates for your webinar attendees. They don't have to be a time-consuming task, everything is intuitive and requires only a few clicks.
In this article, you will learn how to create a webinar certificate which will be a recipe for business success.
What is a webinar certificate?
It is an official document that ensures participation in a webinar and gives tangible results. This document proves that you webinar attended and gained knowledge during the live webinar. It is usually provided by the webinar host.
What are the benefits of digital webinar certificates?
With the tools that are available today, the process of "how to create a webinar certificate" is extremely easy. Also, it takes much less time than doing them manually. Since most organizers don’t send out certificates after a completed webinar, you should mind all the advantages for both – creators and webinar participants.
Ease of use – ready-made digital certificate templates for webinars and automated processes simplify certificate creation.
Participant engagement – webinar certificate can motivate attendees and acknowledge their participation.
Marketing tool – certificates serve as promotional material for future courses and webinars.
Did you know that Certifier allows webinar organizers to create certificates in about 10 minutes? And it is also possible to send them in bulk.
3 steps to create webinar certificates
Before you start, log in to your account, or if you do not have one yet, sign up. Having an account allows you to save all the changes at any stage of creating certificates. So you do not have to worry about losing your data.
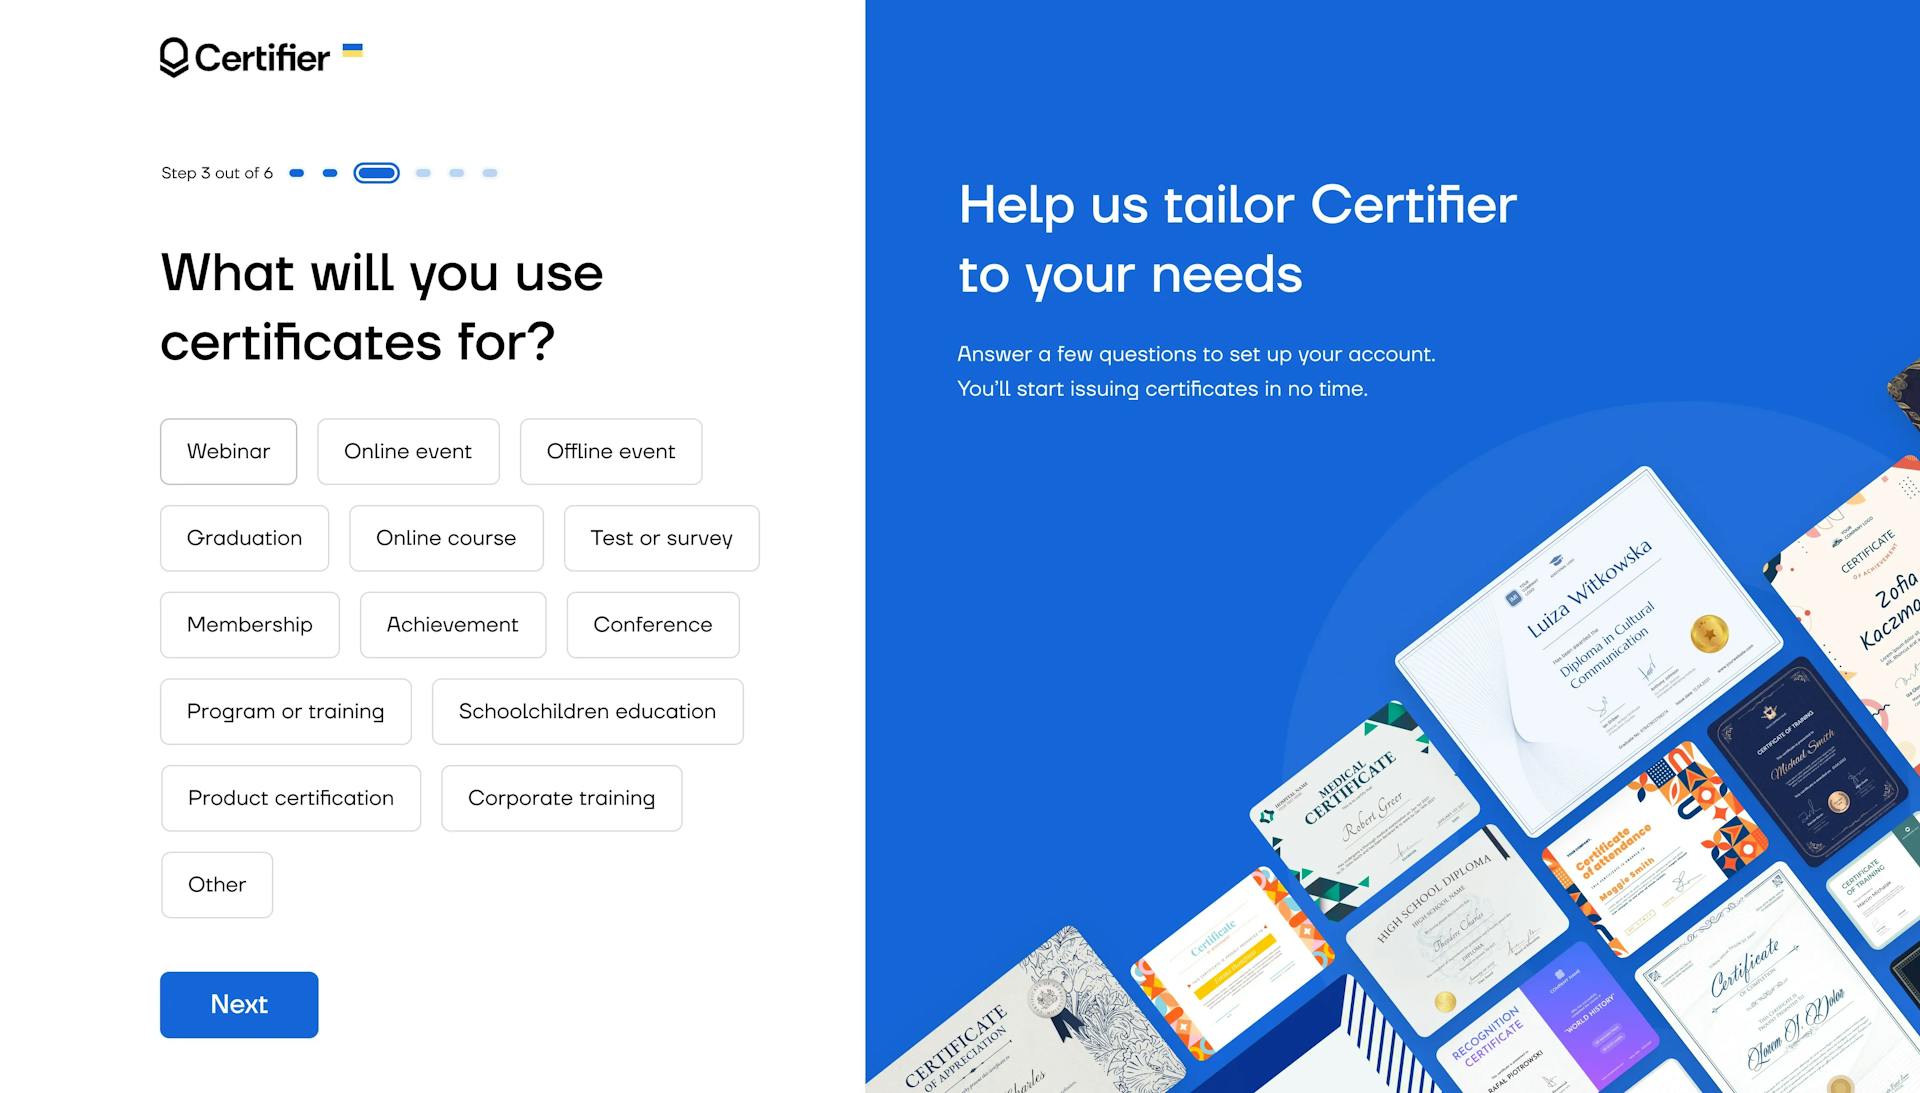
Step #1 Create or choose a certificate template for your webinar certificate
To open the library with the webinar free certificates templates, go to your account and click on the Design tab.
Then, choose and click on Create a new personalized certificate. There are free webinar certificate templates that can be used and personalized to your requirements.
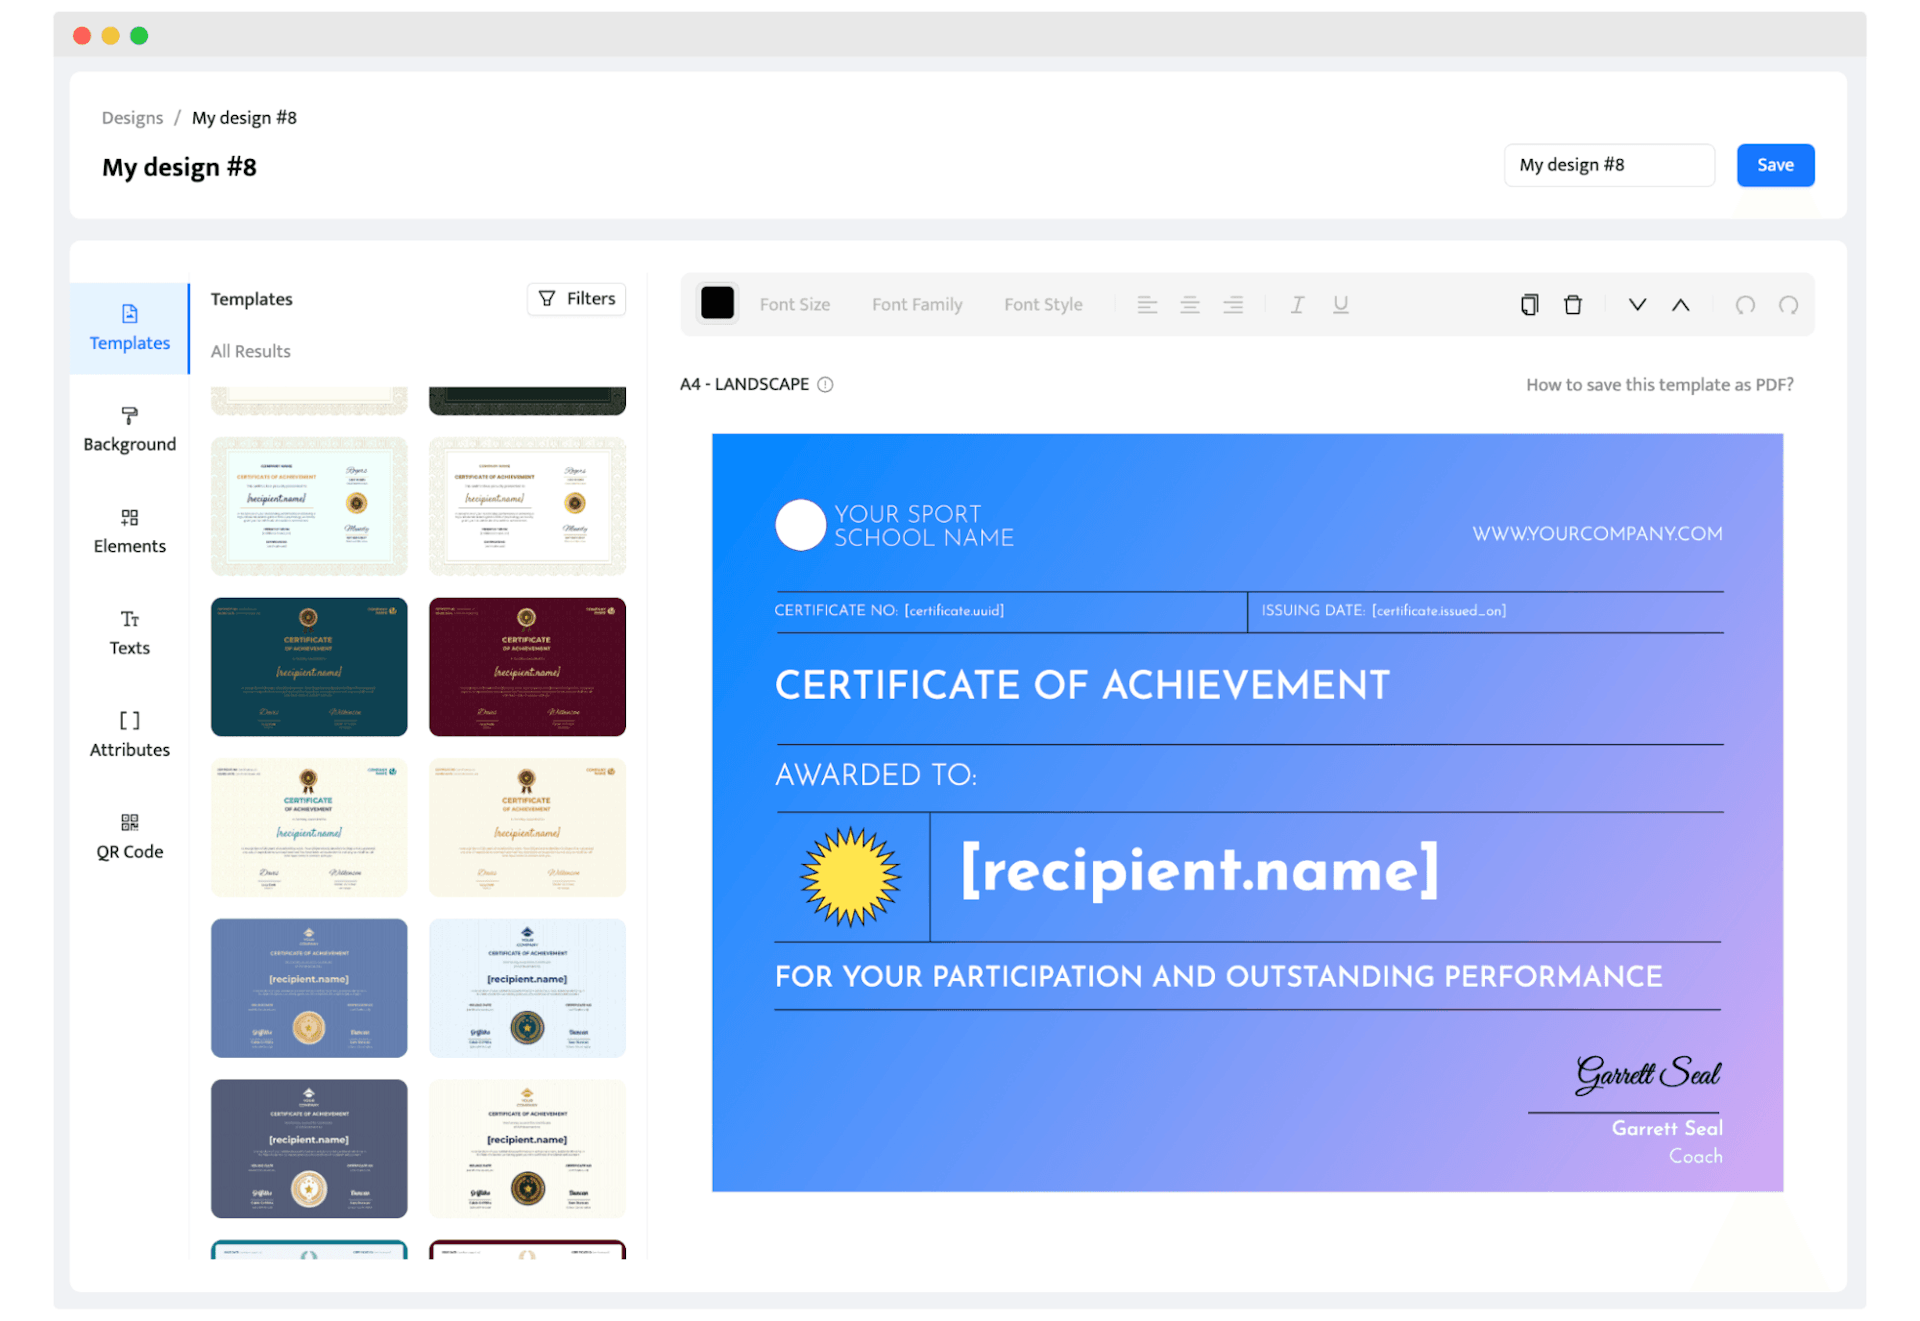
Also, options like uploading images, adding text, and customizing a layout: paper size, orientation, or font, will definitely facilitate the whole process. Add the webinar's title and all the information that will stay the same to one group of recipients.
Do you already have a vision of your beautiful webinar certificates? You can create the webinar certificate of participation from scratch. Go ahead and design your own certificate template from the ground up. Adjust the font, upload images, place the text wherever you desire and be happy with the outcome.
Step #2 Add dynamic attributes
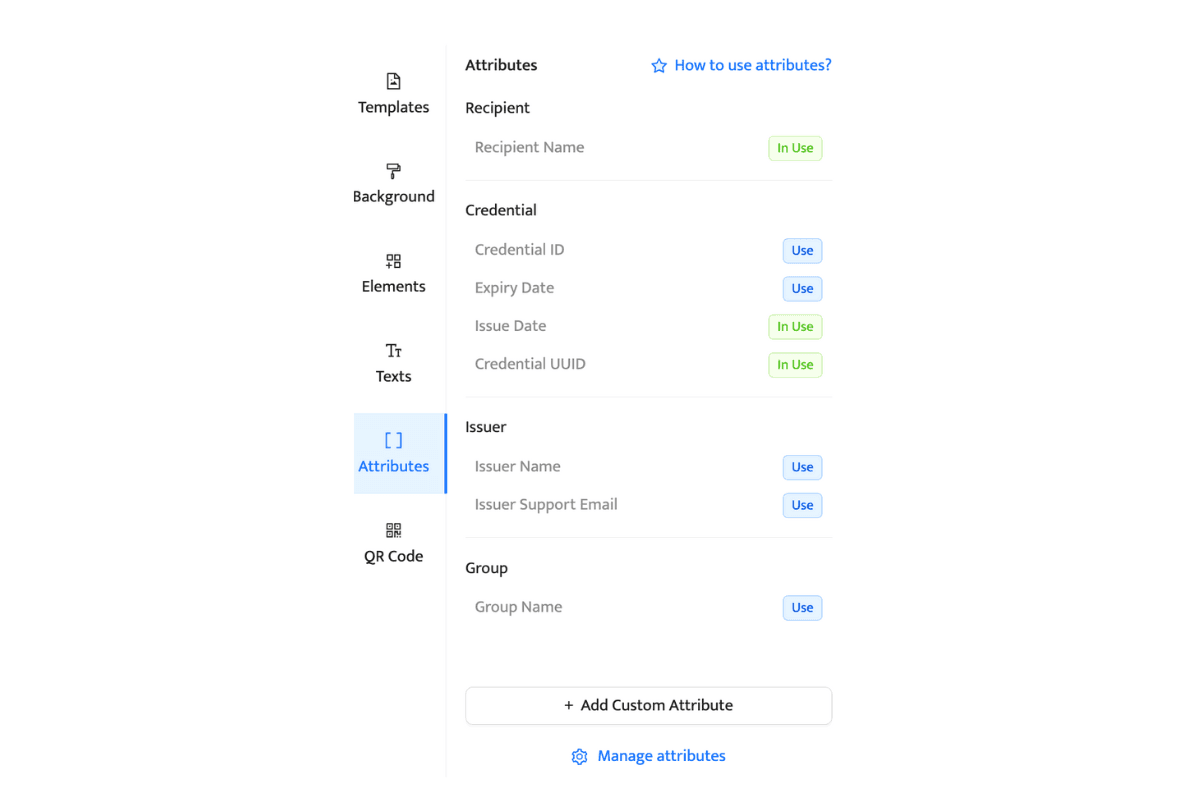
Dynamic attributes are like text fields that will be automatically filled with the information once you upload the recipients’ data.
Add such dynamic attributes as names and surnames of the webinar participants, date of issue, and webinar certificate ID. You can easily add and remove dynamic attributes in the Certifier dashboard.
Step #3 Send the certificates to webinar participants
Now, you are ready to complete the process and send the certificates in bulk via automatic email. Certifier creates PDF documents with certificates with all the provided data.
Now, click Publish and Send. And voila! The certificates are already in the mailbox and ready to download or share on social media accounts.
If you need even more information about how to create a certificate for a webinar, read this guide: How to Send and Automate Webinar Certificates or watch our video:
Best practices and tips for creating free webinars with Certifier certificate
Practical tips for issuing certificates will vary depending on the specifics of your webinar, including its form, duration, or even your niche. However, some tips on how to create a webinar certificate that looks professional and is easy to distribute and redeem can include:
Make sure your certificate design is visually appealing and easy to read
Your webinar certificate should be clear and neat. Get rid of unnecessary information – it will clutter the document. Treat the certificate as your business card. As mentioned before, the certificate can be a means of promotion for your webinars and free courses. So take advantage of that aspect and make your certificate attractive.
Include all of the necessary information
Your name, the name of the webinar, the date the webinar took place, and the name and digital signature of the presenter – all this information is important. They highlight the credibility of completing the webinar. It is vital while attaching to an email or showing the certificate to the public, for example, on social media.
Make sure your certificate is in a printable format (PDF or JPEG)
Speaking of showing the certificate to someone. A format suitable for printing will be comfortable and enable the recipient to print the certificate easily and, for example, attach it to the resume. The right format seems to be a small thing but remember that the devil is in the details.
Make it easy for recipients to redeem their certificates
And again, a small thing, but it makes a difference. People love to share their achievements, so why not make it easy to distribute their certificates? Let them share their happiness of completing the webinar in an easy and simple way. In addition, this aspect would increase the media traffic and promote your webinar.
Get the general idea
Think about the topic of your upcoming live webinars. What are the typical images and associations coming to your mind at first? If you have some in your head, look in the ready made template gallery and search for the one that meets your needs – maybe the solution can be found there.
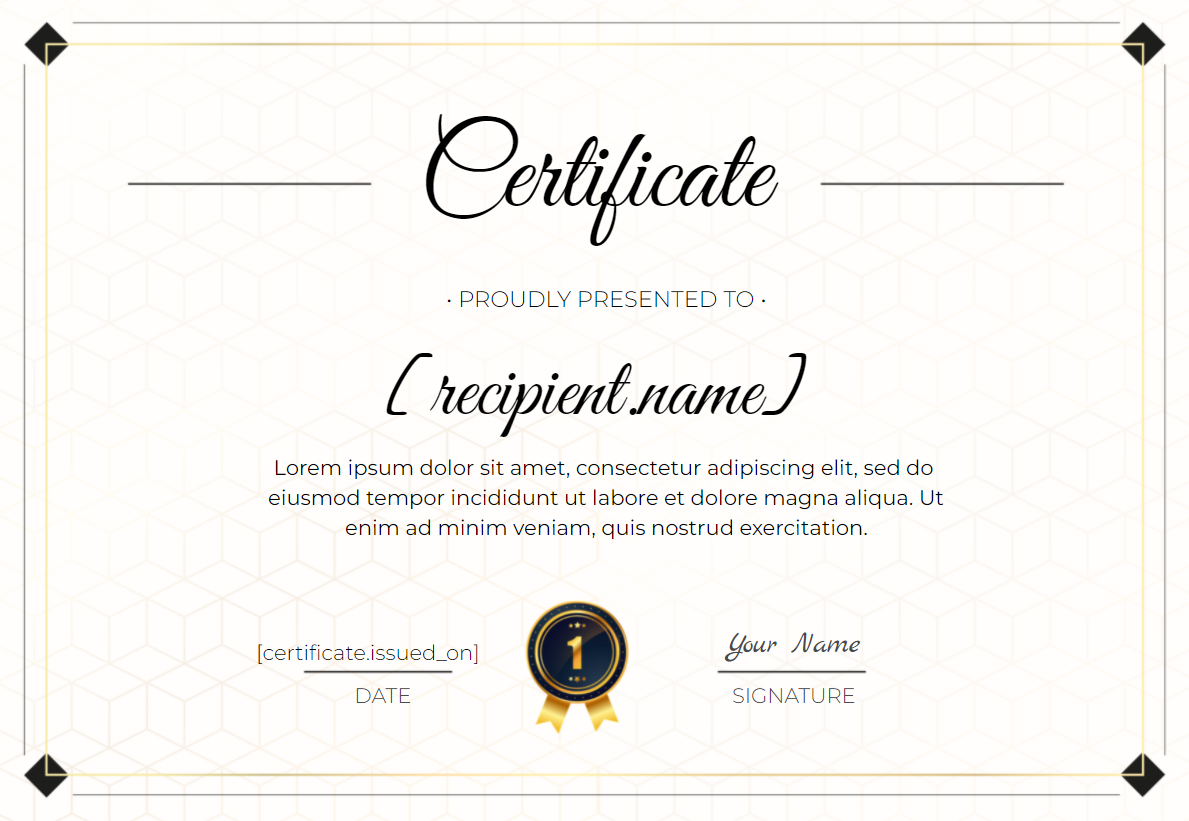
If nothing covers your idea, check the simplest webinar templates. You can google free images or pictures that reflect the topic of your online event or add some little touch to your certificate. Try to download the pictures to your computer. Then, upload them directly into your certificate. Place the picture wherever you want.
Use dynamic attributes
Once again, dynamic attributes are the tool to generate further certificates by adding the data automatically. Data such as issuer name, issuer email, issuer support email, issue date, certificate UUID, group name, recipient name, and recipient email are put on a certificate in the right place. Thanks to that, we are able to customize the email about receiving the certificate.
Of course, it depends on the issuer what information is relevant and which of these the certificate should include. The information will be automatically placed on the certificate after providing the data.
Conclusion
Issuing digital certificates would bring you and the webinar attendees fulfillment and motivation. The attendees put effort into participating. They gained knowledge and took the time, and at the end of the journey, they received proof and rewards due to their work and sacrifices after completing webinars.
So why not do that and create successful webinar courses with certificate?
Gain an advantage and add quality to your online seminars. You never know, maybe certification would be the decisive aspect of whether to participate in your webinar.
Do not hesitate, Certifier will equip you with amazing certificates in less than 15 minutes. Sign up for a free Certifier trial today!

Sergey Butko
Tech entrepreneur. Forbes 30 Under 30 Europe. At Certifier, Sergey’s work focused on revolutionizing the way credentials, certificates, and badges are issued and managed through cutting-edge APIs and software infrastructure.
Sergey Butko
Tech entrepreneur. Forbes 30 Under 30 Europe. At Certifier, Sergey’s work focused on revolutionizing the way credentials, certificates, and badges are issued and managed through cutting-edge APIs and software infrastructure.
Share this article