Trusted by:
How to Create a Custom Email Template and Branding?
Hi there! This article explains how to use Certifier’s custom email templates and branding.
AuthorSergey Butko
Updated: September 15, 2022
5 min read

Author
Sergey Butko
Updated: September 15, 2022
5 min read
Trusted by:
Why do you need custom email templates?
Certifier provides you default email templates that are sent to the recipients of your certificates. The default email template consists of Certifier's logo, heading, body text, and button.
If you want to change some of the components of the default template provided by Certifier, you can create a custom email template. With a custom email template, you can replace the Certifier's logo or modify the text of the emails saturating it with your brand voice.
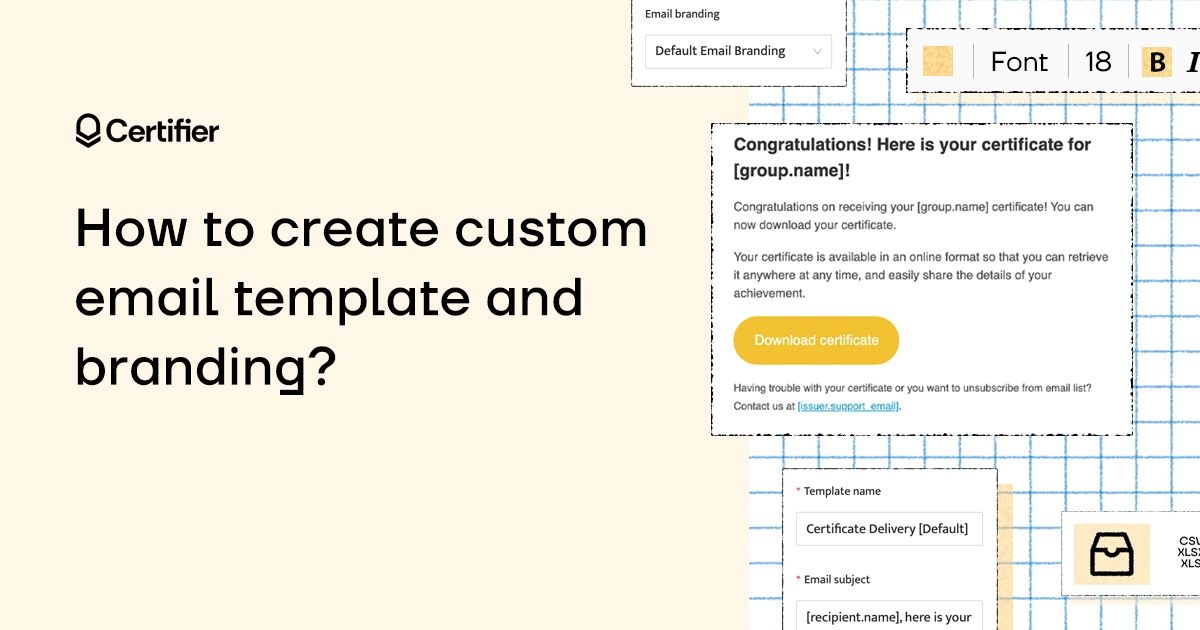
 Here is how a default email template provided by Certifier looks like.
Why do you need custom email branding?
Email branding is the set of parameters you apply to a particular email template. By default, there is a standard email branding style applied to certificate templates: the logo takes up 50% of the width of a template, the color of a button is yellow, while the background of the email template is light grey.
If you want to change some of these parameters, you should create a custom email branding. For example, you have just added your company’s logo design to the template. While the yellow button perfectly matches Certifier's logo, it may look worse with your one. You can adjust the button color to one of your branding colors and provide a consistent branding experience for your recipients.
How to create a custom email template and email branding?
Step 1: Start with creating the custom email template
To create a custom email template, go to the Emails section and click on the Create email template button. You will be redirected to Certifier's email builder.
Start the process from the column on the left. Name your template and provide the email subject (it will be displayed to your recipients once they receive the certificates you issued).
The third field, called Email branding, should stay untouched if you have not created any email branding styles yet.
Later in this article, we will create the email branding that you will apply to this email template. Proceed with modifying the template. For instance, you can delete the Certifier's logo by putting your cursor next to it and pressing the backspace on your keyboard.

Go to the Elements section on the left, click on Images and upload your company's logo to the template. Easy, right?
If you need to change the button text, delete the already existing button just like you did with Certifier's logo and place a new one by selecting it from the Elements tab.
You can also provide some more dynamic attributes in addition to the [ course.name ] attribute placed by default.
Check this article to understand how the dynamic attributes work. Once you are satisfied with all the components of your template, hit the Create button.
Step 2: Proceed with creating the email branding
Now it is time to move on to the email branding! The email branding will customize the email template you have just created and make it stand out :)
Go back to the Emails section, select Email branding on the left (below the Emai templates section that we have just discussed), and click on the Create email branding button.
Now you should see Certifier's default template that we use as a mockup for the branding style you are about to create. In this way, you can see how the style you are creating looks when it is applied to a specific template.
First, you should name your email branding and move on to the Appearance tab. Here you can change the background color of the template, the color of the button, and the width of the logo. Once you are done with changing these parameters, hit the Create button.
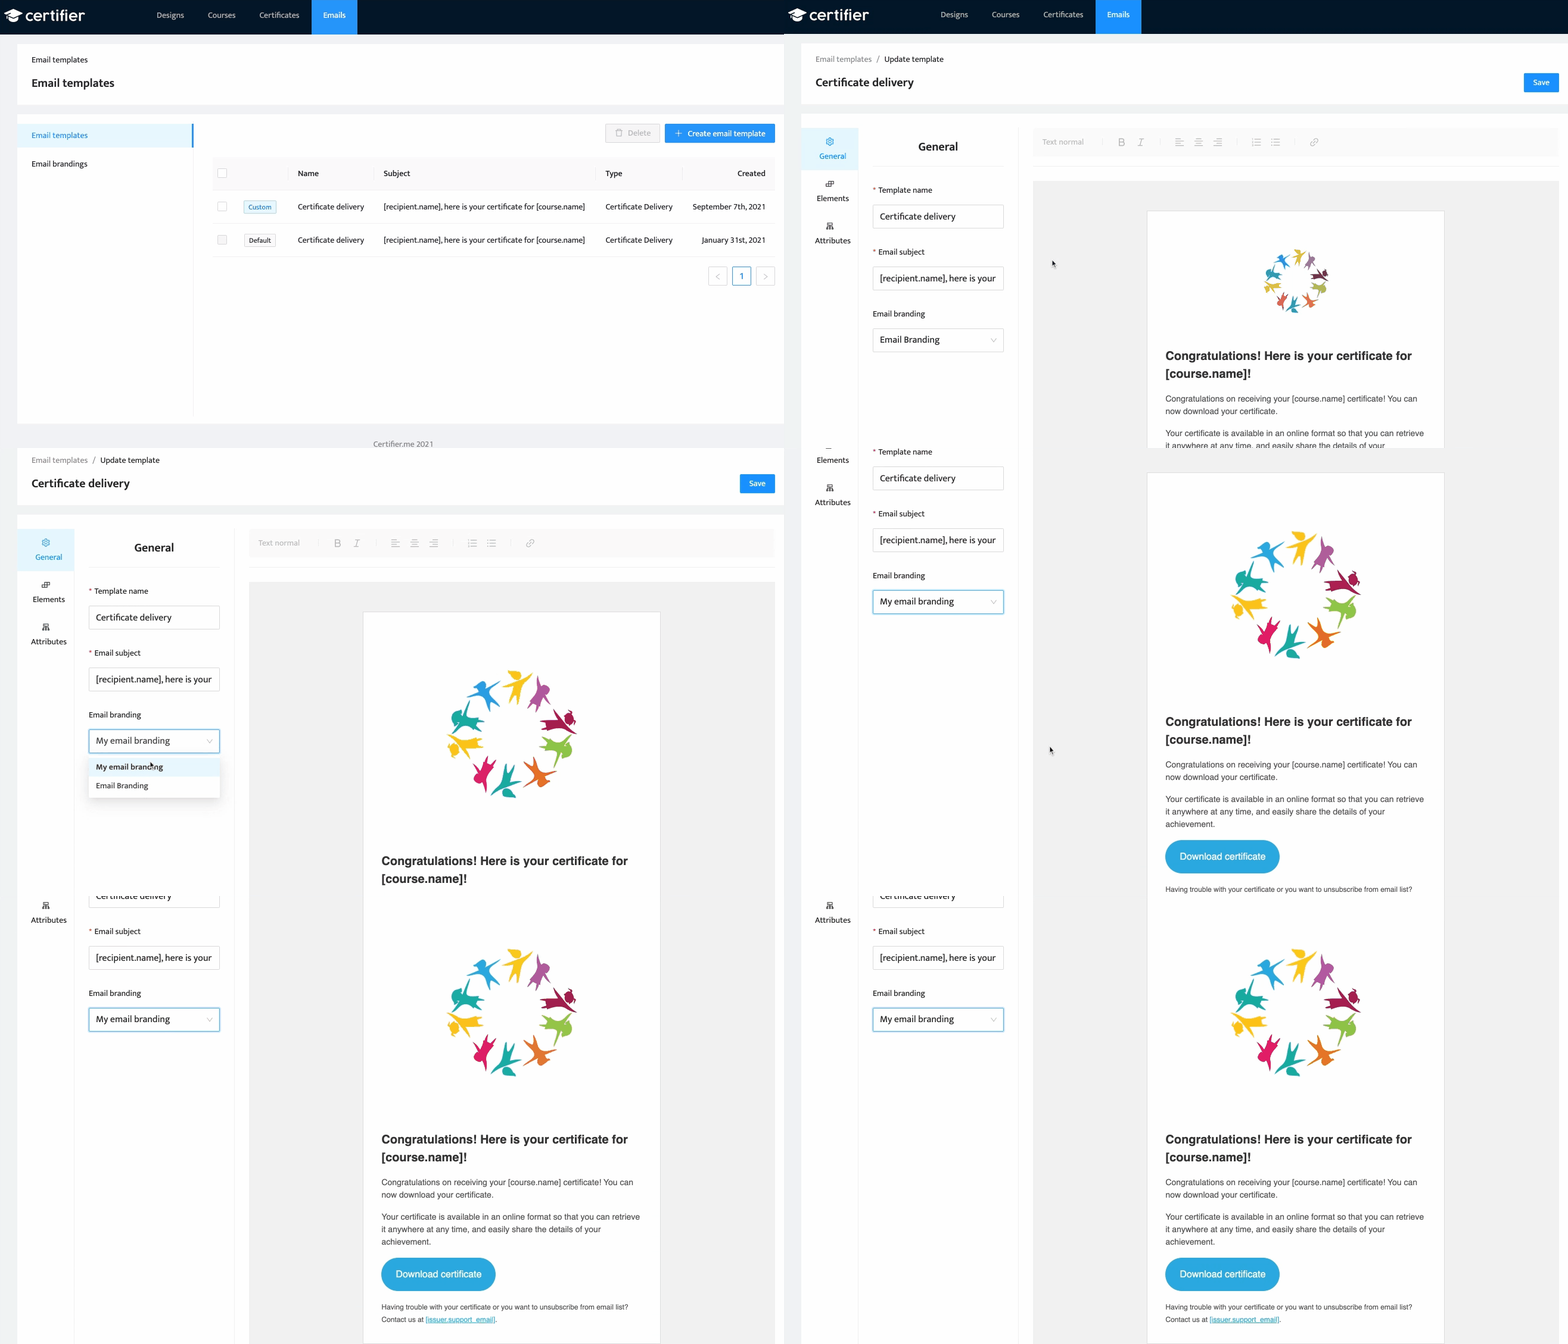
 Here you can see the process of the email branding style creation: the size of the logo now takes 100% of the width and the button color is changed to blue.
Step 3: Apply the email branding to the email template!
To apply your email branding style to the template, go back to the Emails section, select the template you built during Step 1, and choose a freshly designed email branding style you created during Step 2 from the drop-down menu in the Email branding field on the left.
 This gif shows the process of the email branding style application. The parameters of the template are changed to the ones we display in the gif above :)
Conclusion
Congratulations! You have just built a great email template and customized it with an outstanding email branding style! You can create more email templates for each of your courses or webinars, and adjust them to your needs by applying specific branding styles to each of them.

Sergey Butko
Tech entrepreneur. Forbes 30 Under 30 Europe. At Certifier, Sergey’s work focused on revolutionizing the way credentials, certificates, and badges are issued and managed through cutting-edge APIs and software infrastructure.
Sergey Butko
Tech entrepreneur. Forbes 30 Under 30 Europe. At Certifier, Sergey’s work focused on revolutionizing the way credentials, certificates, and badges are issued and managed through cutting-edge APIs and software infrastructure.
Share this article