Trusted by:
How to Send and Automate Webinar Certificates
Generating certificates for webinar participants doesn't have to be a tedious task. If you equip yourself with the right certificate generator this process will require just a few clicks.
AuthorSergey Butko
Updated: April 18, 2024
13 min read

Author
Sergey Butko
Updated: April 18, 2024
13 min read
Trusted by:
Organizing a successful webinar is not a piece of cake. Every webinar you set up requires lots of work and is time-consuming, right?
You need to work on crafting a catchy name, determine the right format for your webinar, decide whether you are going to run it yourself or find a speaker, and create a thorough promotion plan. All these elements are vital for your webinar's success but are also rather obvious.
In this article, we want to focus on a step that takes place at the end: sending certificates after the webinar. How to automate a certificate for webinars? This is the question this article intends to answer.
How to automatically send certificates to webinar participants?
Now you might ask yourself: how can issuing dozens and hundreds of certificates take just 10 minutes?
Well, this is possible only in case if you use a reliable webinar certificate generator. Doing this work manually will take lots of your precious time, which we do not want.
Generating digital certificates for participants doesn't have to be a tedious task. Equipping yourself with the right certificate generator, like Certifier, will require just a few clicks.
Step #1 Create a list of webinar participants
The first step of creating certificates for those participating in your webinar is to get a spreadsheet with a list of all participants. A webinar software you used to organize your online event provides this file.
You should just log in to a panel and download a webinar attendees list to Excel or Google Sheets. Ensure that the list includes participants' email addresses so you can later automatically send certificates using a certificate maker.
Step #2 Prepare certificate design
Go to your Certifier account, click on the Design tab, and select Create a new design. A library of free certificate templates will be opened. Now, choose a template that suits the topic of your live webinar best and start editing.
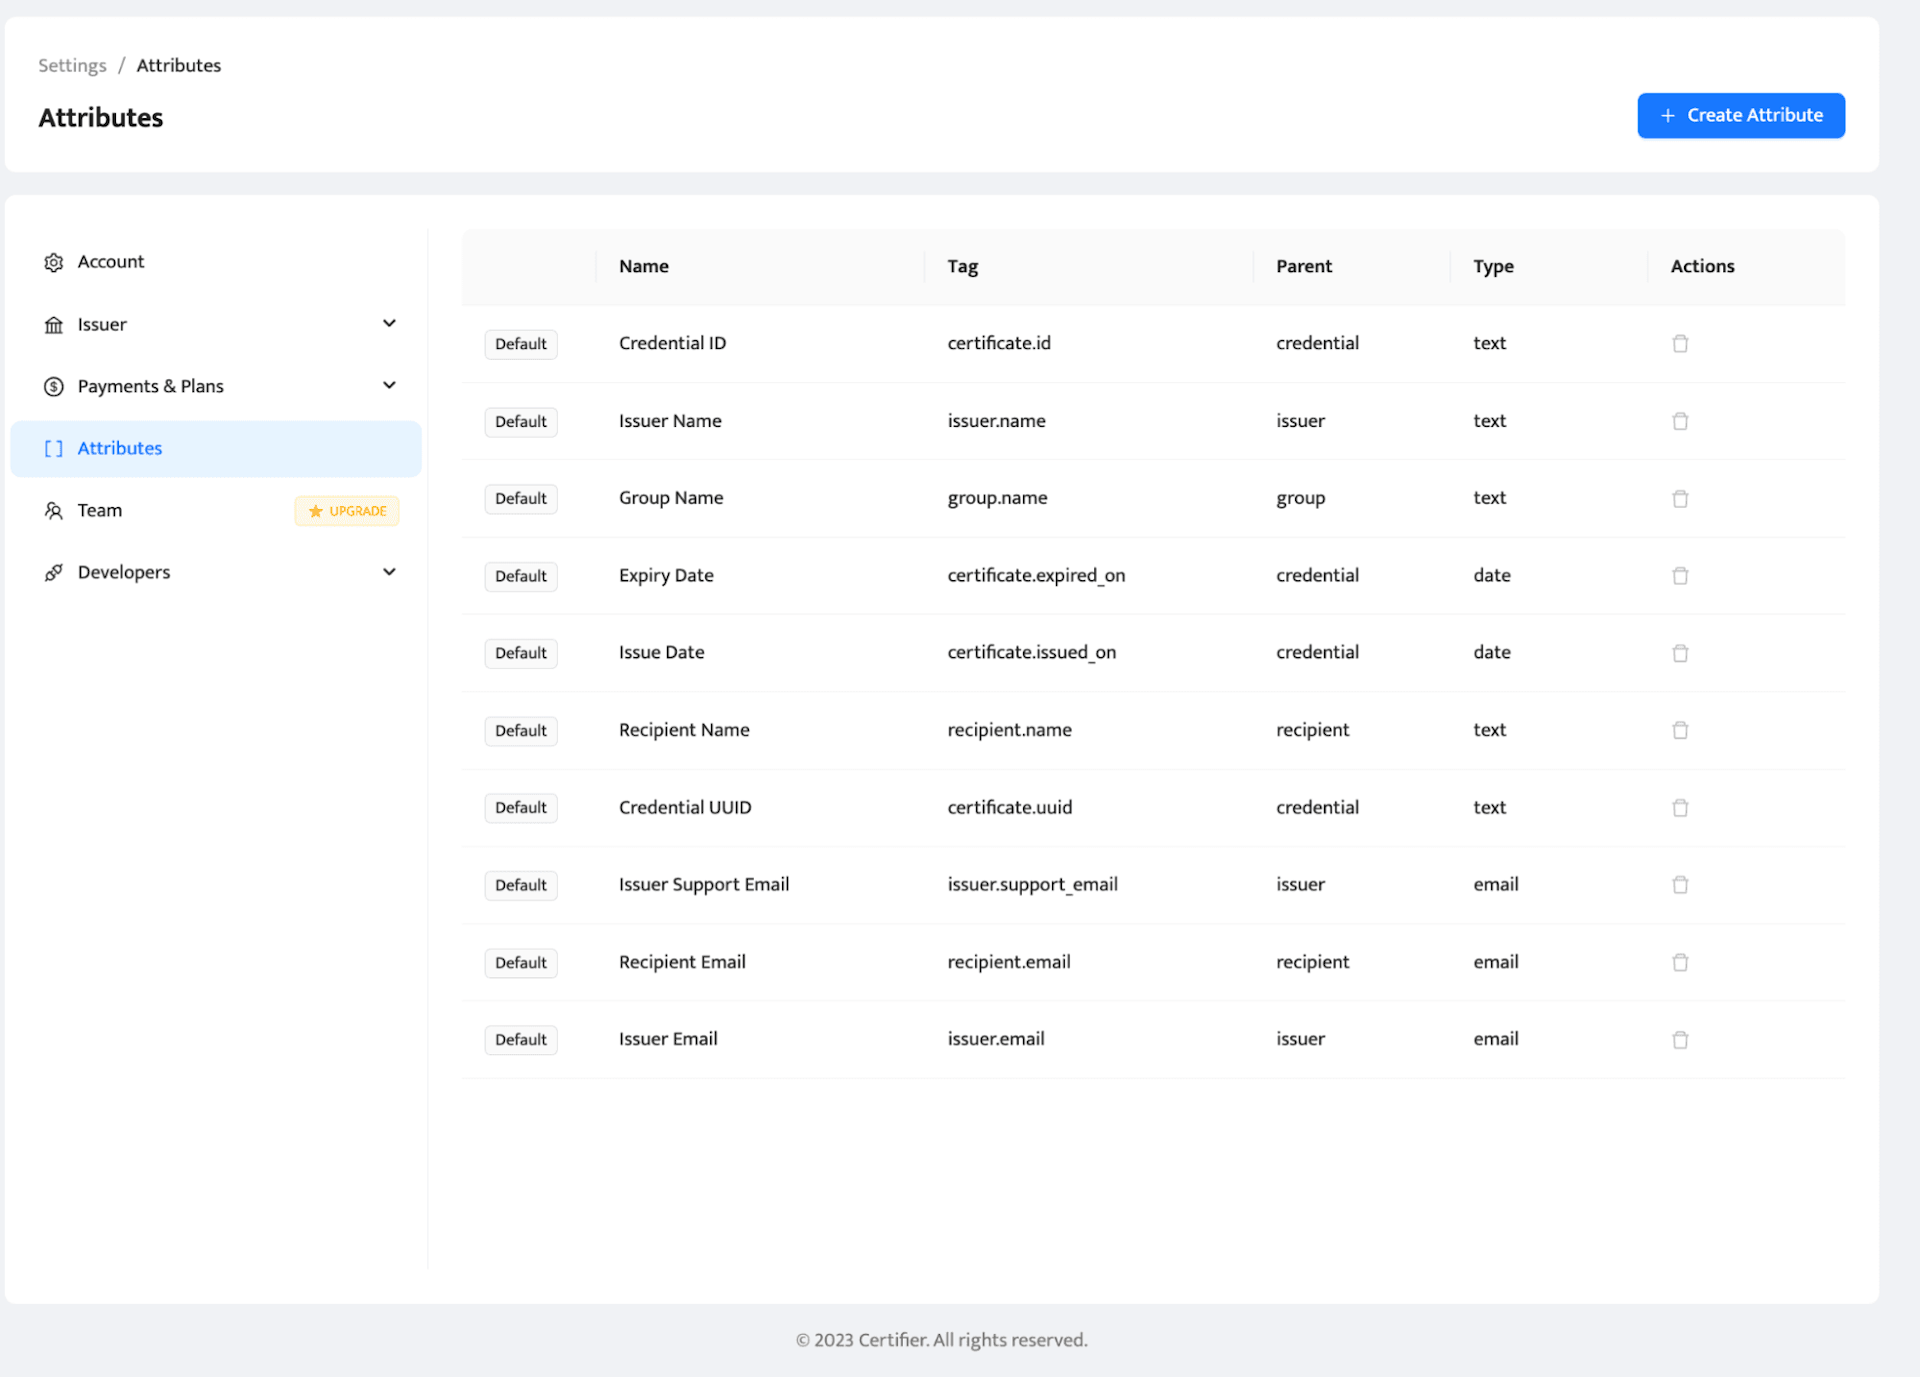
You can add text fields, the webinar title, custom attributes (like the webinar attendee's name and surname, date of issue, certificate ID), choose the orientation (portrait or landscape), the size of a certificate, etc.
The Certifier Design tab also enables you to create certificate webinar templates from scratch by adding backgrounds and editing attributes. Don’t forget to save the digital credentials designs.
Read this article to learn more about how to create certificates for webinars.

(There are instructions on exporting the CSV with participants' data from the most popular webinar tools below. For example, if you need to generate a Zoom webinar certificate, just scroll down to a respective section of this article to get acquainted with generating the list of participants from Zoom.)

Make sure the names of attributes used in a certificate template are consistent with the names of columns in a CSV file so that the data is uploaded correctly.
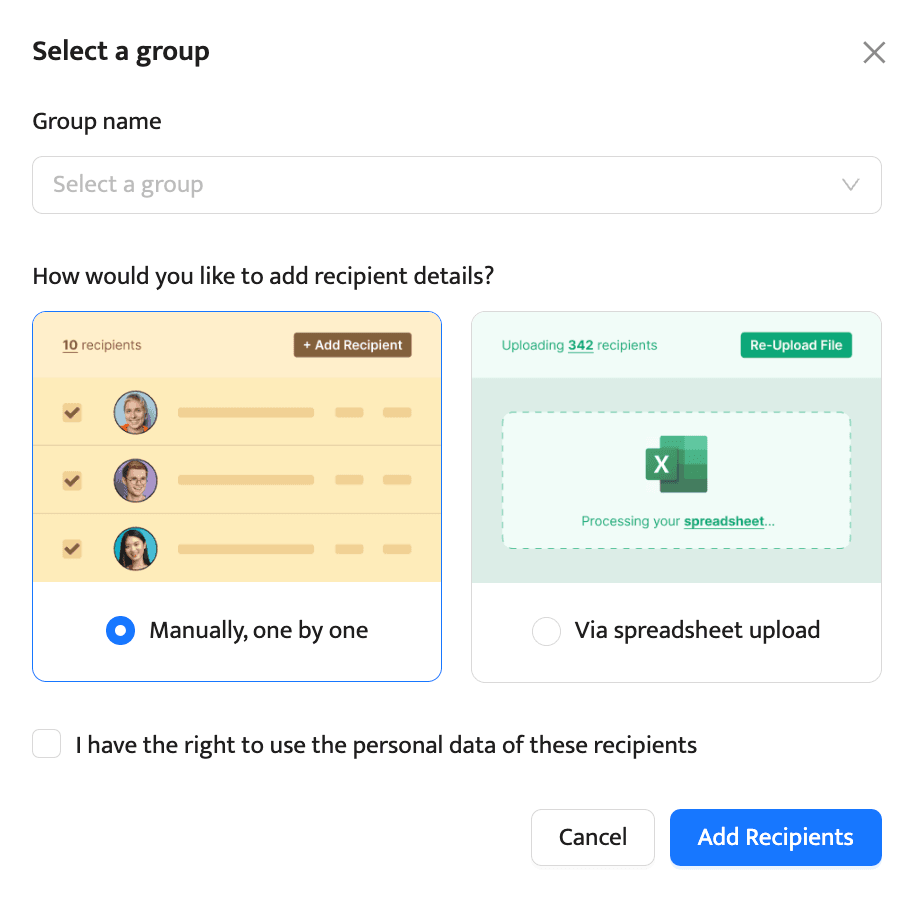
Now, just click Add Recipients to upload a list to your certificate generator.
Step #4 Send digital certificates in bulk to all certificate recipients
Now, Certifier will generate certificates automatically using the certificate template and the data you provided. All certificates include data sourced from a CSV file with a list of those who participated in your webinar.
Click “Preview before publishing” and check whether everything is fine to send digital certificates further. If so, click “Save and publish”.
And that's it – all participants of your live events received an email with a personalized webinar certificate attached.

When you invest so much time and resources in a project, you want to make sure it will deliver tangible results and make a good impression on all participants. Providing a personalized certificate for each person who attended your webinar will help you achieve these results.
As we mentioned above, doing an engaging webinar is a process that consists of many steps. Surprisingly, a lot of webinar creators tend to avoid the step of issuing certificates underestimating the influence that it may bring to their webinars.
In fact, such thinking will slowly lead these businesses to obsolesces. Here at Certifier, we are focused on helping one automate the certificate-issuing process and spreading knowledge about the importance of certificates for companies and individuals conducting webinars or other educational programs.
See how to create a certificate for a webinar here:
In our recent article 8 Best Tools to Create Certificates Online for Free, we discussed the results of the IBM study dedicated to the value certificates bring to the business.
CSV files with webinar attendees - examples of popular webinar tools
Now it is time to learn how to export a CSV file with a list of webinar attendees. As you already know, you cannot just create a Zoom certificate of attendance straight away.
Zoom and other most popular webinar tools do not have this functionality. However, now you know how to generate a certificate for webinars using Certifier.
The only missing puzzle for the certificate issuing process is the list of webinar attendees you have to upload. The time you spend on creating such a list might take anywhere from 15 minutes to a couple of hours, depending on the number of participants.
Luckily, there are ways to export such a list from the most popular webinar tools quickly and easily.
Zoom
You need to follow a few simple steps to download a list of people who attended a webinar organized using Zoom account.
First, log in to Zoom account. In the navigation sidebar on your left-hand side, select Reports. Then select the Usage Reports and select the Report Type you would like to search for.
This will prompt a dashboard with a list of all webinars you organized recently. If you organize many Zoom webinars, use the date pickers to narrow down the list or enter the Webinar ID number to find the event you are interested in.
When you spot the webinar, you want to get a list of participants for, select it, and click Generate CSV Report. The download of the list will be prompted automatically.
WebinarJam
To get a list of participants from WebinarJam, log in to your account and select the Analytics screen. Then, click on the name of a webinar and select the Display Analytics option.
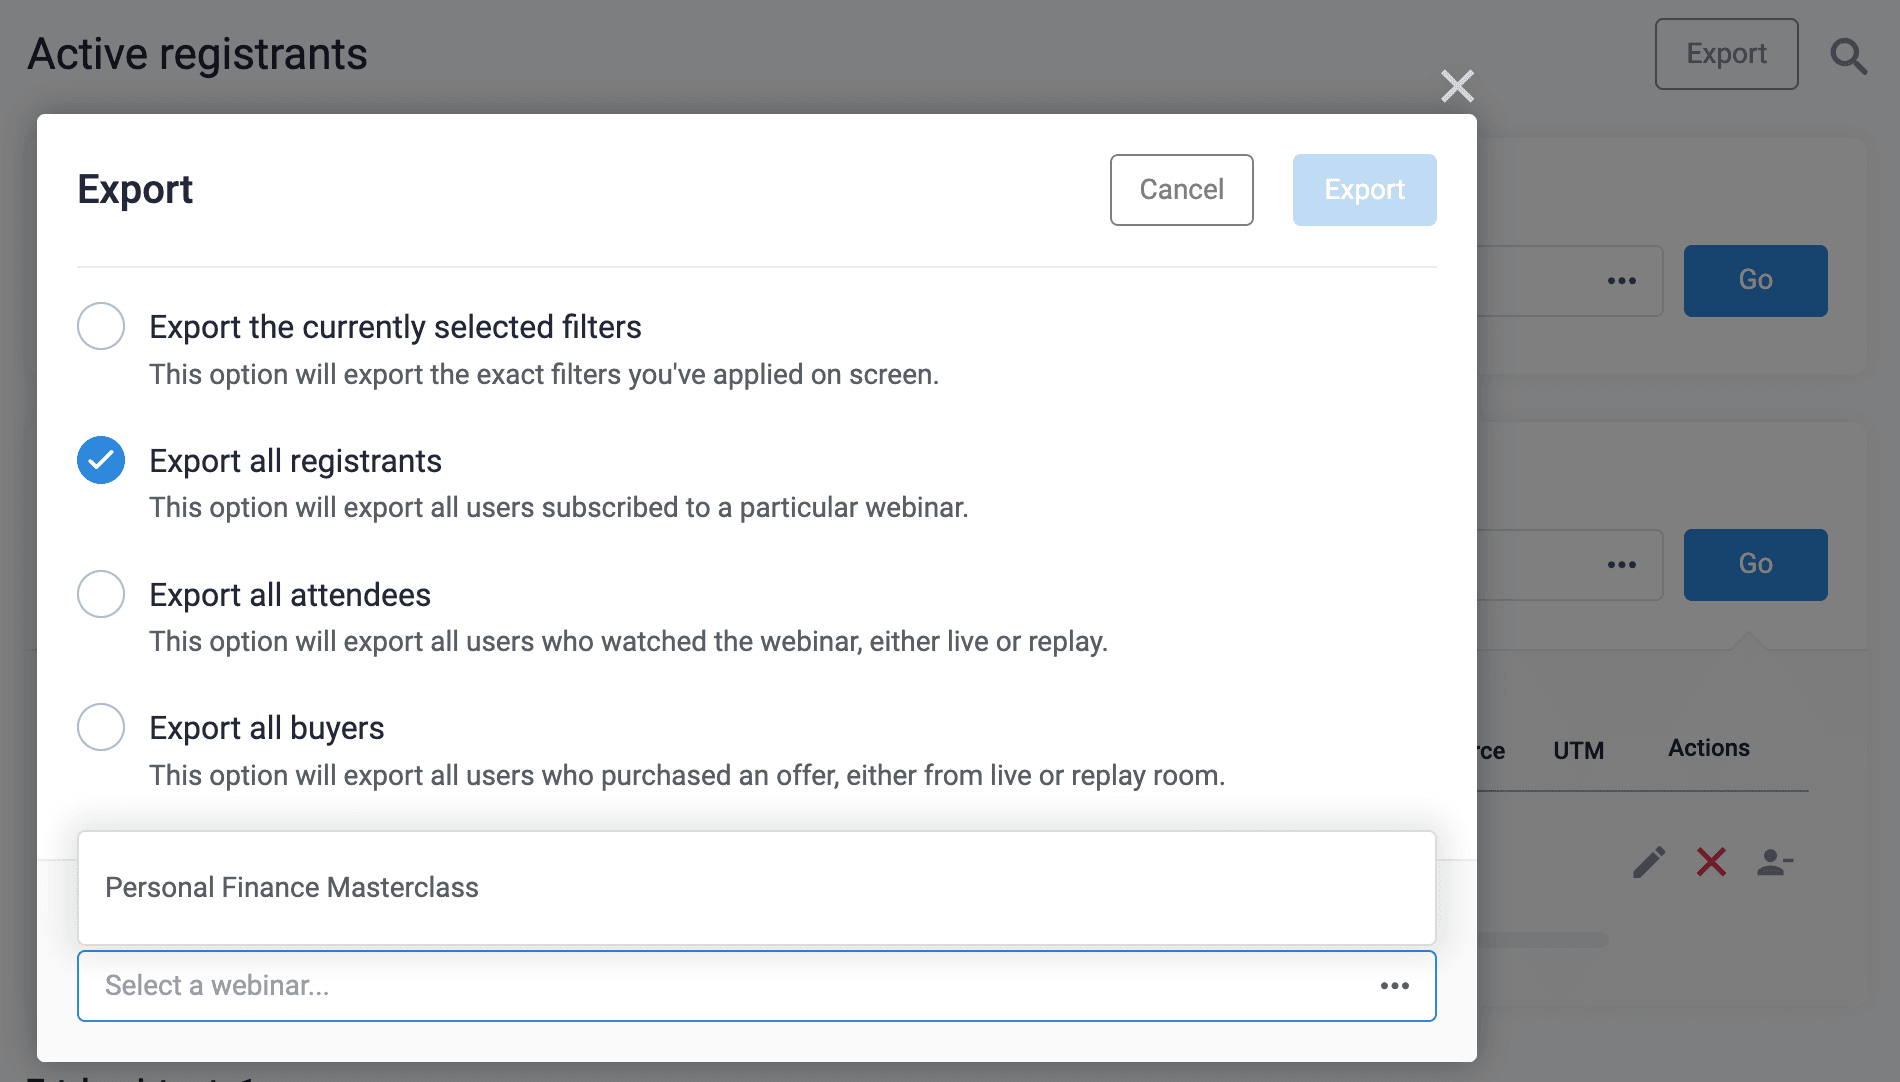
From a dashboard with detailed webinar metrics, click the Download full registrants lists, and you are set! A file you get will include a list of registrants and webinar attendees who actually participated in your webinar.

ClickMeeting
If you used ClickMeeting to organize your webinar, there are a few steps you need to take to generate a list of webinar attendees.
First, log in to your Account Panel and click on the Statistics tab in the upper right corner of the Panel.
Then, choose the On-demand events tab. A list of all your webinars with the number of unique participants will be displayed.
You have to click on the appropriate event and select the Attendee summary or Event summary tab.
The last step is to choose the option "Export all sessions stats to" to CSV or XLS file and you are all set!
To sum up
After reading this article, you will know how to generate certificates for webinar participants using a certificate maker and why issuing certificates is an important element of organizing an online event.
Now it's time to put this knowledge into practice. Create a free Certifier account and start generating certificates in bulk today.

Sergey Butko
Tech entrepreneur. Forbes 30 Under 30 Europe. At Certifier, Sergey’s work focused on revolutionizing the way credentials, certificates, and badges are issued and managed through cutting-edge APIs and software infrastructure.
Sergey Butko
Tech entrepreneur. Forbes 30 Under 30 Europe. At Certifier, Sergey’s work focused on revolutionizing the way credentials, certificates, and badges are issued and managed through cutting-edge APIs and software infrastructure.
Share this article